PURE Carpet Care Blog
- Details
- Written by: PURE Carpet Care
- Category: PURE Carpet Care Blog
- Hits: 3510
 Make Every Move Count
Keep this in mind when you clean. Clean from the top to the bottom, from the back to the front, from the right to the left.
Clean one area at a time and work your way completely around the room, cleaning it up as you go. Put your cleaning supplies in a bucket, tote or basket and take it with you so don't have to stop to find something you need.
Concentrate When Cleaning
House cleaning is a chore, no one really enjoys it. (It's the results that we like!) If you're distracted when doing the job, you'll just spend more time having to work! Put on some music, focus on the job at hand, making every move count, and you'll finish the job quickly.
Check Your Cleaning Supplies
There is nothing worse than not having enough cleaner and not being able to finish the job properly.
Check your cleaning supplies first and make sure you have enough before you get started.
If you are out of a particular cleaning product pick an alternate task that you can complete properly.
Carry Your Cleaning Supplies
Professional house cleaners carry their supplies with them and you should too.
You won't have to stop and find each cleaning supply you need, and you'll work faster with every product or supply at your finger tips.
We use a tote/cleaning bucket that contains all our supplies and we carry it from room to room. It contains all our cleaning supplies such as disinfectant, scrub brush, de-greaser, comet, soft scrub, scrubbers, garbage bags, duster, etc.
Dust First, Vacuum Last
Dust first, from the top to the bottom. You want the dust up high to fall to the floor so you can vacuum it away.
Use Portable House Cleaning Tools
Use a small whisk broom and canister vacuum to quickly clean up small spills. Use a canister vacuum to keep things neat and to clean up pet hair, lint or pick up dirt that would get spread around the house if not removed up quickly.
Clean Your House As A Team
Get someone to help you. This makes the job more fun. Turn up the music and make a game of it. The job will get done more quickly, and this is definitely a case of "the more, the merrier".
Make a Cleaning Schedule
We have busy lives; kids, work full time, go shopping, make dinner, etc.
We don't have time and energy to dedicate to cleaning. So we need to schedule and make plans so we can clean when we have time.
Maybe you manage your schedule with a planning calendar, so it should be fairly simple to add cleaning to your schedule as well.
Split up the cleaning tasks and put them on a schedule on different days of the week. For instance, clean the bath rooms on Sunday, clean the kitchen on Wednesday, etc.
A plan will help procrastinators and prevent burn out because you won't feel like you need to clean the whole house at once.
Hire A House Cleaning Service
It makes sense to get some help with such an unending chore. House cleaning services will clean your home thoroughly and completely (Deep cleaning). Then the upkeep is much easier if you would like to take over from there.
Better yet, you can sign up for ongoing house cleaning on a weekly, bi-weekly, or monthly frequency. Spend the time you save enjoying your family. Mrs. Clean will be glad to help you!
Pure Carpet Care - Tip of The Day
- Details
- Written by: PURE Carpet Care
- Category: PURE Carpet Care Blog
- Hits: 3530
 Stain Removal Tips When You Are In A Bind
Stain removal emergencies happens to the best of us. Things go wrong and things get spilled.
The kids come rushing into the house covered with grass stains. Or, they spill the gravy at dinner, everywhere. It just happens. The good news is that there are plenty of things that you can do to get and keep these stains from ruining clothing, carpeting or other areas of your home. Take some time now to learn how to handle these stains and you can be effective at cleaning them for good.
Act Fast
The first thing that you need to do with any emergency spill or stain is to act as quickly as you can. The longer the stain sits there, the more time it has to work into the carpet or fabric fibers, making it nearly impossible to get rid of the stain entirely. We will go through some of the most common types of stains that you may happen to you and how you can treat them effectively.
Overall Tips
There are some things that you can do that just work well for most types of stains. The first thing to do is to act quickly to avoid a stain -- as soon as the stain strikes, get to it. For example, if it will take you a minute to get the solution onto the stain to remove it, take some table salt to the stain first. Cover the stain with salt. The salt will stop the stain from setting into the fabric and can easily be cleaned up as well (vacuumed or brushed off). This will work on most types of wet stains including food spills, red wine, and soda pop.
Second, always blot the stain clean rather than scrub it. You are rubbing it into the carpet causing it to get in there even more so. Blot the stain clean for them most effective results. Always use a clean cloth to do this as well.
There are some products that will work well at helping you to remove any type of stain. Most stains will react well to hydrogen peroxide that is blotted onto the stain. Another option is to use vinegar on the stain. These products work by causing a chemical reaction in the stain allowing it to draw the stain out of the carpet so you can clean it up. They can also help to stop the stain from setting until you can properly clean it up.
There are plenty of stains that can happen. So, in your normal day you should have a few products on hand ready to go if they are needed. Use a small sized bucket to house these products and for easy access to them. Place in there a solution of one half cup of ammonia, one half cup of white vinegar and two tablespoons of cleaning detergent. Store it in a spray bottle. You should also have ready to go clean sponges and terry cloths as well.
Below are some of the stain removal tips for specific stains that you may need
Here are some basic stains removal tips to use:
Blood Stains:
Blot the blood from the stain as much as possible. Mix half a cup of cool water with one tablespoon of ammonia. Spray this onto the stain. Then blot it up as much as possible. Next, spray with another solution. This time use one quart of water to 1/4 cup of dish detergent. Blot up again. You can keep doing this until the stain fully comes off. If you still have problems with it, consider using hydrogen peroxide letting the stain sit in it for about an hour.
Candle Wax:
If you have had a candle drip wax onto your carpeting, follow these tips. First, remove as much of the debris as you can with your fingers. Wet a cloth with warm water or use a paper towel and place on the area. Use a warm iron on top of it to warm and melt the wax. Keep the paper towels moving so that it absorbs the wax.
Grass Stains:
To get rid of them, use rubbing alcohol that you place right on the grass stains of clothing. Then, wash as usual. Or, use Fels Naphtha which is a soap that has been used for centuries. Rub with detergent and wash as normal. White vinegar can work as well. Keep at it and you will remove those grass stains.
Make Up and Lipstick:
Use a pad that has dry cleaning solvent on it and apply to the area. This product can easily help you to remove these types of stains. You will want to rinse well and launder if possible. If this does not get rid of the stain, go with a solution of 1/2 teaspoon of mild dish detergent with just a teaspoon of ammonia to 1/2 cup of water. Always blot these stains with the detergent and keep turning them to pull out the stain.
Pure Carpet Care - Tip of The Day
- Details
- Written by: PURE Carpet Care
- Category: PURE Carpet Care Blog
- Hits: 3522
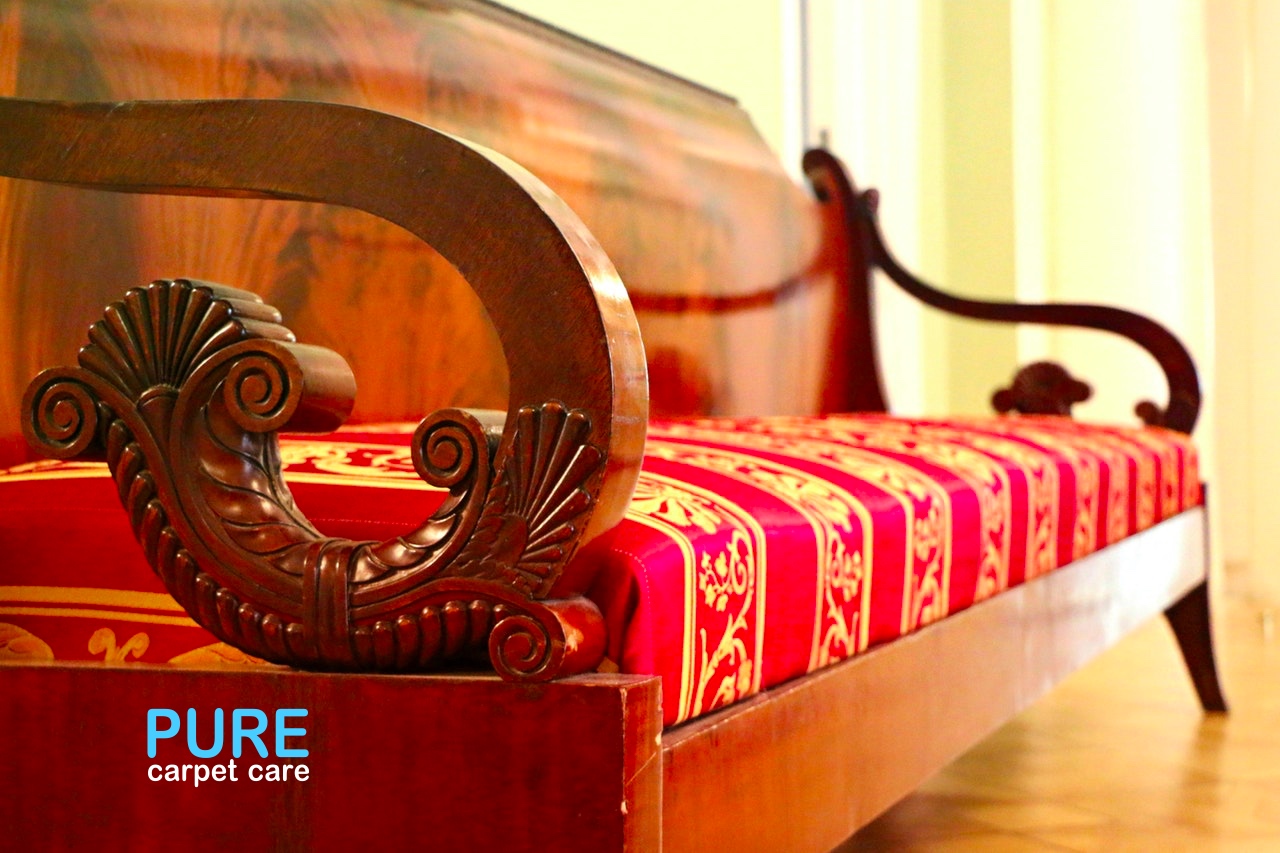 Caring for Wood Furniture
If you have wood furniture in your home, chances are you paid quite a bit for it, rescued it from a garage sale or inherited it from a family member.
However you found your furniture, knowing how to take care of it is important so it can be enjoyed for years to come, especially if you plan on passing it down through the generations.
Freshen Up Old Wood Furniture
Some of the wood furniture items we’ve picked up at the local flea market or from Aunt Betty might have smelled better in their hey-day, but with a few simple steps, you can make sure that folks enjoy the look of your furniture without being put off by that old musty smell.
- There is nothing like sun and fresh air to help remove musty odors. Let it sit out during the day and bring it in at night. I have done this with a few pieces, it can take time but it does help.
- You can also add baking soda, charcoal, coffee (dry ground or beans) or kitty litter to drawers and cubbies to help remove musty odors. When using charcoal and kitty litter I have used panty hose. Baking soda can be sprinkled then vacuumed up and I’ve just opened a bag of coffee beans in larger areas. Whichever you choose, you will need to let it sit a day or two and may need to repeat the process.
Here’s a little tip for old wood furniture with drawers that are hard to open: Rub a candle, bar soap or paraffin along the top, bottom and edges of the drawer. Another good fix for sticky old drawers is a self adhesive, self lubricating nylon tape.
Removing a Water Stain from Wood Furniture
The most common stain on wood furniture is from a water stain. All you need is a clean cloth and a warm iron.
- Heat the iron to medium high.
- Place a lint free cloth over the water mark and run the iron over it for just a few seconds.
- Repeat if necessary.
- Be sure to properly polish when done.
Use a cloth big enough to cover the irons surface so you avoid touching the hot iron on exposed wood. Do not use any steam in this process.
Polishing Wood Furniture
The biggest mistake people make when polishing their wood furniture is - not knowing the finish.
You should only use oil on wood that has an oil finish. Furniture oil such as Tung and Linseed oil evaporate and get tacky then the remaining residue dries to a hard, protective finish. Wood oil can be applied when necessary, but it is not suitable for all wood finishes.
Oil and wax don't mix! Never add wax to wood with an oil finish and never add oil to wood with a wax finish. A chemical reaction between the wax and oil occurs that will degrade them both. The wax will become an opaque color and attract dirt and dust. If this is something you have inadvertently done and are noticing the change, you will have to completely remove it if you want it to look beautiful again.
For more information on the do’s and don’ts of polishing and cleaning wood furniture, take a look at these articles. With these tips, you should have a beautiful piece of furniture for years to come.
Protecting Your Wood Furniture during a Move
If you’re getting ready to make a move here are a few tips to help keep your wood furniture from getting gauged and/or scratched.
- Prior to packing, clean and dust your furniture. This will help avoid any scratches that could happen when you wrap your furniture.
- If you have large pieces and if possible, dismantle it prior to wrapping.
- Use heavy moving blankets or winter bedspreads and other blankets to place over a table, desk, etc. Bubble wrap can be used to wrap around table legs, drawers, frames and other wood items.
- Now that you have your furniture pieces protected, wrap with plastic sheeting.
Pure Carpet Care - Tip of The Day
- Details
- Written by: PURE Carpet Care
- Category: PURE Carpet Care Blog
- Hits: 10134
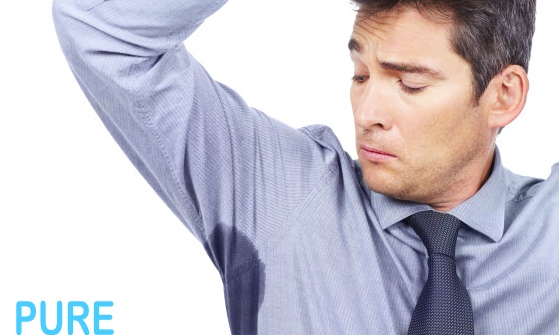 How to Remove Sweat, Perspiration, Deodorant & Antiperspirant Stains
Perspiring is something that every BODY does at one time or another. As much as we try to cover up the fact we are sweating, it's not always possible. Even worse than having someone see our perspiration darken our clothing under the arms – is if odor is present- called body odor or “B.O.”
So if there's odor, we need to use antiperspirant or deodorant to help with the B.O and reduce wetness- now there's even more chemicals that interact with the sweat soaked fabric and can become embedded into the material over time.
All of this talk is making me sweat!
Just kidding- But the fact remains that sweat and antiperspirant stains can ruin clothing- and that does give me a headache.
But don't worry-- after 25 years of marriage, 3 kids and countless sweaty underarms and dirty, smelly shirts- not to mention running a cleaning company- I know just how to clean all those nasty sweat stains up.
Join me as we run off to the land of stain removal and clean up any stains caused by: sweat, light perspiration, deodorant or antiperspirant on your clothing!
Are you ready, then? Let's get busy cleaning!
What is Sweat?
Human beings are built with a very efficient air-conditioning system: We can produce up to 6 pints of sweat every hour from over 2.6 million sweat glands that are located all over our bodies.
As do most mammals, we regulate our temperature by sweating.
The very act of evaporation removes heat from our bodies and allows it to be carried away (that's called thermal radiation). The process of evaporation/perspiration decreases our core temperature.
Our "problem" sweat glands can vary- While women are mostly troubled with underarm perspiration, men often experience perspiration between their shoulder blades, the groin area, feet and hands.
Believe it or not, sweat is very similar to urine at a chemical level.
Both sweat and urine contain “urea” – which is ultimately broken down into the chemical ammonia. Urea is defined as the end product of protein decomposition and key component in human and animal urine.
The difference between sweat and urine (besides the obvious) is that the amount of urea in perspiration is very dilute, 1/130th, compared to the concentration in urine.
Yes, these facts are rather gross, but it just means we need to clean it all up!
Why Does Sweat Stain?
Sweat contains salts, minerals and trace elements that remain on our body and clothing after all the liquid is evaporated away.
You probably know that sweat (and tears) contain salt, but there's more than just sodium contained in sweat. Sweat contains minerals and trace elements such as: chloride, potassium, urea, sugars, lactate, calcium, magnesium, zinc, and the list goes on....
Sweat stains are caused by those same minerals and trace elements left behind. The minerals bind together after the liquid has evaporated away and become embedded into the fabric.
Have you ever heard of hard water spots? Hard water deposits are white discolorations that form on many surfaces when they are not wiped dry. The white spots are just minerals that are naturally contained in the water but they are too heavy to evaporate away. It's the same kind of problem, the same kind of stain... That's the reason chlorine bleach won't remove the stain. You can't bleach those minerals with chlorine. Minerals won't bleach.
I'd usually use some kind of abrasive to remove hard water deposits, but that obviously won't work with clothing. Any deodorant or antiperspirant used will add additional chemicals that can make the stain harder to remove than just the minerals alone.
Toss all these facts together and the result is hard-to-remove sweat and perspiration stains.
No worries, we'll use chemical instead of physical abrasives to dissolve the minerals, so they can be washed right away. It makes perfect sense, doesn't it?
Why Does Deodorant and Antiperspirant Stain?
Deodorant and antiperspirants stains are tough to remove.
Both deodorant and antiperspirants contain aluminum salts (aluminium chloride, aluminium chlorohydrate and/or aluminium-zirconium) which are the active ingredients used to stop us from sweating.
Over time the aluminum salts combined with the minerals in your sweat become soaked and embedded into your clothing and a discoloration begins to show.
Deodorant and antiperspirant stains can be a hazy white or yellowish appearance. I've seen heavily stained white t-shirts where the stain looks very dark and almost green looking even though the shirt was freshly laundered.
Removing Sweat, Deodorant & Antiperspirant Stains from Washable Clothing
If your fabric is dry clean only take the garment to a dry cleaner.
Sweat stains don't come out easily because they are biological and the minerals from your sweat combined with the chemicals from the deodorant become embedded in the fabric.
Chlorine bleach does not remove these stains, as I'm sure you are well aware. You could bleach your shirt until "kingdom come"- the chlorine bleach would disintegrate your shirt into nothing but tatters, but the sweat stain would still remain!
To remove stains on washable clothing use the following stain removers:
Ammonia and water
Household ammonia is a general purpose cleaner and is great for loosening tough stains and grime.
Ammonia smells terrible, so you will need to open the window when using it to remove your sweat stain.
Because ammonia is so alkaline, it is very corrosive and an oxidizer. Ammonia will help to break up the minerals that bind to the fabric causing the deodorant or sweat stain to start with.
- Mix a 1/4 cup of water with 1/4 cup of ammonia.
- Dab the cleaning solution on the stain.
- Let the ammonia work on the stain for 60 minutes.
- Then launder according to clothing manufacturer’s instructions.
It's very important that you NEVER mix ammonia with other cleaners.
Chemical reactions happen with all cleaning chemicals (ammonia included) and as an example ammonia mixed with chlorine bleach releases a deadly gas that can be fatal when inhaled.
Take two aspirins and call me in the morning … really!
Aspirin (Acetylsalicylic Acid) is a great way to remove perspiration stains.
To remove stubborn sweat stains on white blouses or shirts:
- Crush and dissolve two aspirins into 1/2 cup of very hot water.
- Dab the aspirin solution onto the sweat stain.
- Let the solution work on the stain for 2-4 hours.
- Apply a few drops of full strength laundry detergent on the stain right before washing.
- Massage in gently.
- Launder as usual.
- Repeat this process if needed.
Be sure to wash your garment thoroughly after using this solution especially if the owner of the garment is allergic to aspirin!
Baking soda to remove stains and deodorize too!
Baking soda is a great way to remove stains and odors.
- Make a paste of 4 Tbs. baking soda and 1/4 cup of warm water.
- Rub the baking soda solution into the stain with your fingers.
- Allow the baking soda solution to work on the stain for 2 hours or so.
- Apply a few drops of full strength laundry detergent on the stain right before washing.
- Massage in gently.
- Launder as usual.
This is also a good cleaning solution for removing “ring around the collar”.
- Spread the baking soda paste on the shirt collar.
- Let the baking soda work on the stain for 30-60 minutes.
- Right before putting your stained garment back in the washer, rejuvenate the paste by adding a small amount of straight laundry detergent or dish soap and rub the fabric between your knuckles to help remove the stain.
- Then proceed with the regular wash cycle.
We like “green” stain removers!
Or yellow stain removers... Take lemons, for instance.
- Squeeze the juice from a fresh lemon into a bowl and add an equal amount of water.
- Massage the lemon juice solution into the perspiration or deodorant stain.
- Let the lemon juice work on the stain for 60 minutes.
- Launder as usual.
If the sun is out, you might also put the garment in bright sun after applying the lemon juice. Together, they are great bleaching agents! This cleaning solution also works with plain white vinegar.
Meat tenderizer - for more than just meat!
I use meat tenderizer frequently to remove tough set-in biological stains like blood and urine.
Meat tenderizer contains natural fruit enzymes called bromelain and papain that help to break apart protein stains so they can be laundered away with regular washing.
To remove sweat or deodorant stains using meat tenderizer:
- Moisten the stained area with water.
- Work in a half-teaspoon of meat tenderizer with your fingers.
- Let the solution sit for 60 minutes and then launder as usual.
DON'T use meat tenderizer on natural fibers like wool or silk!
Heavy Duty Stain Removal
Oxygen bleach (Sodium Percarbonate) is my secret weapon for removing sweat and deodorant stains.
Soda ash/washing soda and hydrogen peroxide are combined to form a shelf-stable oxidizer and natural bleaching agent. Oxygen Bleach releases oxygen when it's dissolved in water which makes it a cleaning agent that is very effective at removing sweat and deodorant.
The best part is that Oxygen Bleach will not damage fabric like regular chlorine bleach does.
Follow the manufacturer's instructions for your fabric type:
- Mix 1/8 scoop of oxygen bleach with 1 cup of very hot water.
- Stir the cleaning solution until the granules are completely dissolved.
- Add 1 Tsp. full strength dish detergent or laundry soap into the water and oxygen bleach solution.
- Massage the cleaning solution onto the stained area with an old toothbrush or your fingers.
- Let the stain sit for 2 hours out of direct sunlight.
- Launder as usual.
- Inspect after laundering.
- Repeat if needed.
Pure Carpet Care - Tip of The Day
- Details
- Written by: PURE Carpet Care
- Category: PURE Carpet Care Blog
- Hits: 10314
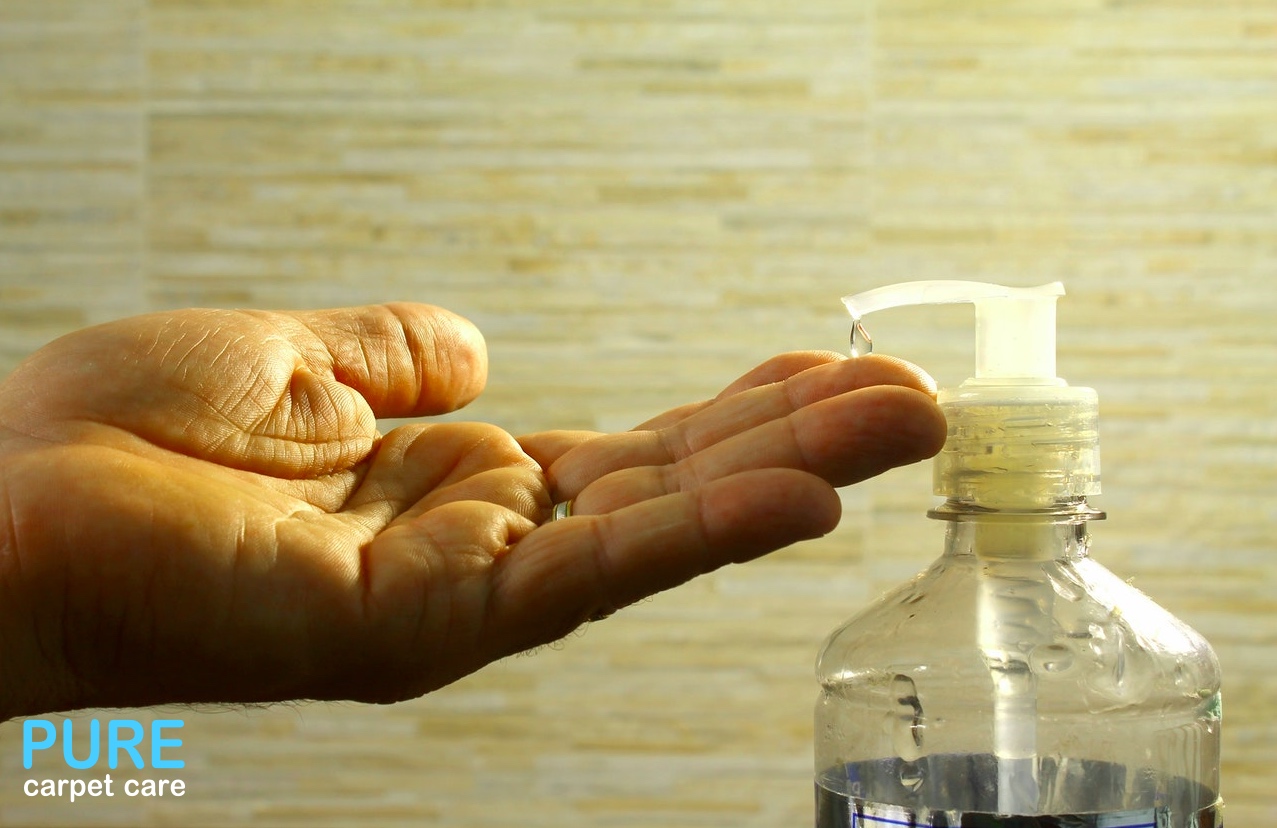 Cleaning With Dish Washing Detergent
If you are like many out there, that bottle of dishwasher detergent cleans only the dishes, right?
No way! Dish washing soap and dishwasher detergents are not just for dishes.
Think about it- They cut grease and they do it very well. I don't buy specialty grease cutters because I have a cleaning product that was made to cut grease better than many other cleaning products out there.
The cleaning recipe and the cleaning process is the same whether you are using liquid dishwashing detergent that you use in the sink or the one that you use in the dishwashing machine. You need to use very hot water to make sure you have dissolved the cleaner completely.
The soap that goes in the dishwashing machine cuts grease just as well as dish soap, but has been formulated not to suds up when agitated. So don't think you didn't put in enough dishwasher soap and add more because there's no bubbles.
There are plenty of other ways to use dishwasher detergent to get results that are well worth the bit of investment in this cleaning product.
Most dishwasher detergents are inexpensive. Some are antibacterial now as well. Most will do well on various locations of your home.
How To Use It:
These cleaners are ideal for some of the toughest of stains. It is important to note that anyone that is considering using any of these products for cleaning need to do so only when they are using hot water.
The water temperature should be about 130 degrees in order for it to cut through the grease and grim on your products. Hot water should not scald your skin, though.
Where To Clean:
There are several locations around your home that can be cleaned with dishwasher detergent.
For example, consider cleaning your refrigerator, inside and out with it.
You can use it on your floors and avoid the expensive costs of floor cleaning products. This can help you to cut down on the amount of chemicals you need as well.
You can also clean walls, the stove and glass products with dishwasher detergent.
Basic Formula:
To use this cleaning chemical for other types of cleaning, just do as you would for the dishes.
- 1/4 cup of dish washing detergent.
- 1 gallon of very hot water.
- Mix well.
Cleaning Process:
Use a clean terry cloth to wash whatever it is that needs cleaning. Rinse with warm water and dry with a clean cloth.
If you are using it on glass, make sure that you use paper towels to shine the glass for a streak free clean.
All detergents/soaps leave a residue if they are not rinsed completely. So make sure to rinse the soapy water off to get a clean and streak free shine.
Pure Carpet Care - Tip of The Day
- Details
- Written by: PURE Carpet Care
- Category: PURE Carpet Care Blog
- Hits: 3578
 How To Clean With Vinegar
Want the ultimate natural cleaning experience? Turn up your nose and take another sniff of common, household vinegar! For a "green" environmentally friendly product, you can't get anything better than vinegar. It might not look green though. Most vinegars are white, yellowish, shades of amber, red and almost black. For cleaning purposes, we use white vinegar.
Where Does Vinegar Come From?
Vinegar may be derived from several sources - most common are fruits and grains, such as apples and rice, but it is even made from wood and roots. You are probably familiar with vinegars made from fruit juice. The juice contains sugar that ferments into alcohol, changing the juice into wine.
What a surprise to the cook who stores a bottle of wine under the kitchen counter then opens it to find the sweet wine has turned to vinegar! That's the natural process it takes - given the right conditions, the alcohol in the wine changes to vinegar - hence, the name, "wine vinegar".
Vinegar Is a Germ Fighter
The germ fighting properties of vinegar are legendary. In fact, the Father of Medicine, Hippocrates, is said to have treated his patients with vinegar for all kinds of ailments - in 400 B.C.! My Vermont-born great-grandmother relied on a drink made from vinegar, honey and warm water to begin her day. Whether it contributed to her longevity or not, I don't know (she lived to a ripe old age of 90!) but it certainly awakened her taste buds and sharpened her tongue!
A Natural Cleaning Product
White vinegar is great for household cleaning. It is very versatile and, while it does leave an odor that quickly disappears, there are a lot of advantages in using vinegar as a household cleaner. It is non-toxic to humans and pets. However, it is a mild acid,and should not be used on items that could be damaged such as crystal. NEVER USE VINEGAR ON MARBLE OR NATURAL STONE SURFACES.
If your glassware (not crystal) has soap film that leaves them cloudy, try soaking it in a solution made of a half cup of vinegar to a gallon of water. Leave it for a half hour, then remove and rinse well.
You can clean and deodorize your toilet bowl by pouring a couple of cups of undiluted white vinegar into the bowl. Allow to stand for several minutes, then scrub and flush.
Vinegar will also remove greasy dirt and drops from your stove and refrigerator. Simply moisten a paper town or household sponge with vinegar from the bottle, and wipe. Works on chrome and stainless steel, as well.
Showers
We recommend that you "shower your shower" with vinegar - provided your shower is constructed of porcelain tile, glass, fiberglass or other man-made materials.
You can keep your shower stall clean and shining by just exercising a few simple techniques and perhaps a change in bath soap! Natural "castile" soaps, such as coconut castile, are made from vegetable oils rather than waxes. Natural oils are easier to dissolve and rinse away. A natural astringent, vinegar is non-abrasive and cuts through greasy soap scum build-up with a little scrubbing.
Coffee Pot
Freshen your coffeepot and remove coffee stains from the glass pot by filling the water container with vinegar and running it through a cycle. Then, rinse well and run through two cycles using fresh clean water.
Hardwood And Linoleum Floors
Add vinegar to warm fresh water, then dampen your sponge mop and damp mop your hardwood, tile, or linoleum floors. It sanitizes and dissolves greasy dirt, and leaves your floors shining.
Cleaning And Sanitizing Bathrooms
You may use vinegar full strength on bathroom counters and fixtures. It actually shines chrome and cuts through soap scum. If you have water spots on your sink and fixtures, dampen a paper towel with vinegar and allow to lay on the affected area for 10 minutes or so. Then go back and wipe clean. This will work if the water spots have not already etched into the porcelain. At any rate, it will improve the appearance and sanitize the fixtures.
Use vinegar full strength on a soft clean cloth to clean your toilet. Add full strength to the water in the toilet bowl, allow to set, then scrub and flush.
Use a cloth dampened with vinegar to remove soap film and mildew from your shower curtain. Rinse well and allow to hang dry.
Pure Carpet Care - Tip of The Day
- Details
- Written by: PURE Carpet Care
- Category: PURE Carpet Care Blog
- Hits: 3401
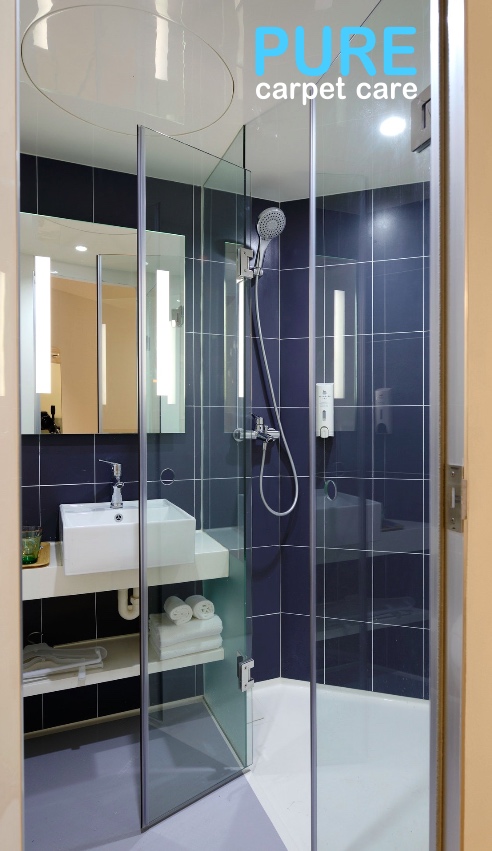 Soap scum will build up when you take shower after shower and can be difficult to clean if not cleaned regularly. It's not just soap but minerals from the water, body oils, sloughed off skin and bacteria.
When you realize this, I don't think it's something you want yourself or your family bathing in.
Get Rid of Soap Scum
Ammonia and Water
Mix one part household ammonia with two parts water in a spray bottle. Spray on the location and wipe clean. Rinse the area thoroughly.
Vinegar
Spray white vinegar directly onto the soap scum and allow it to work for a minute or so. Wipe clean.
Dryer Sheets
Rub a dryer sheet onto the bathtub or shower walls to help remove the soap scum.
Heavy Duty Cleaning
Borax
Borax is a scouring powder and a cleaning agent. Wet a sponge and sprinkle on the borax. Scrub the scum off. This is safer than other chemicals on the market. Rinse thoroughly with hot water after cleaning.
Baking Soda
Make a thick paste of baking soda and water. Apply and scrub. Rinse thoroughly.
You can also use the baking soda all by itself. I have done this after getting out of the shower while the tiles are still wet. Either sprinkle on a sponge or the walls and scrub.
Pure Carpet Care - Tip of The Day
- Details
- Written by: PURE Carpet Care
- Category: PURE Carpet Care Blog
- Hits: 4445
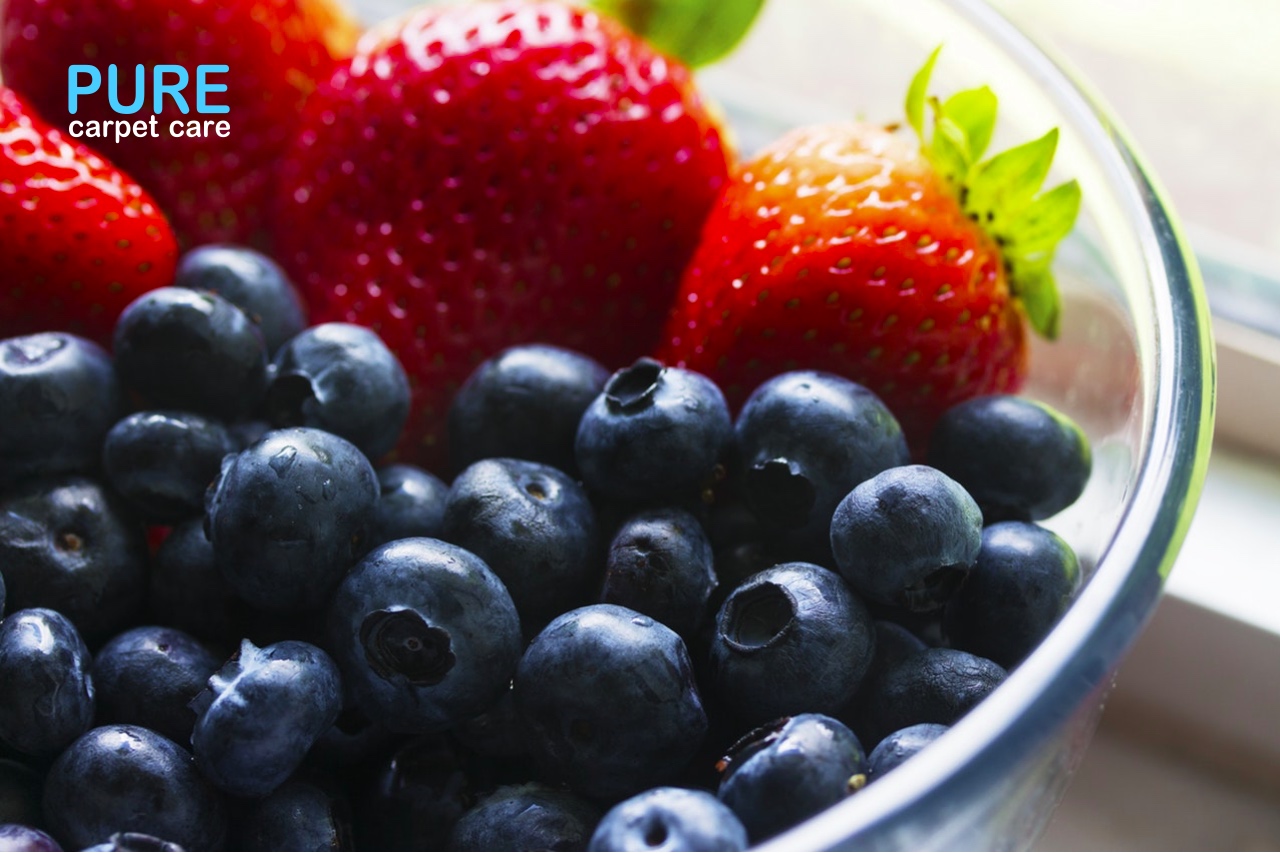 Tips for Removing Berry Stains
There’s almost nothing better in the world than picking fresh berries from the vine or bush, and popping them into your mouth, savoring the sweet, tart juice as you munch them up.
We are especially fond of the wild blackberries that grow in profusion here in the Northwest.
“Profusion” is an understatement Blackberries are self-propagating and are a real nuisance when they pop up almost overnight in gardens and lawns.
How to Remove Berry Stains
After spending a few hours picking berries, you’ll find that the juice stains your fingers and the stains don’t seem to respond to a good washing with soap and water.
The dark stains work around your fingernails and even get under the nails themselves making your hands and fingers look really dirty.
Some berries are worse at staining when they are picked – blackberries are really bad.
Almost all of them will leave stains after being cooked into a pie or sauce and spilled or dropped onto clothing.
Common Berries that Stain:
- Blackberries
- Raspberries
- Thimbleberries
- Blueberries
- Bilberries
- Huckleberries
- Currants
- Cranberries
- Concord, Red and Green Grapes
- Strawberries
Berry Stains On Clothing
To treat the stains, you must remember berry stains are organic – like blood, milk, juice, etc. Organic stains respond better to natural or organic (lemon juice, certain enzymes) products and sunlight.
Boiling Water
Many people that I’ve talked to highly recommend this method of removing fresh berry stains: boil a quart (or more) of water in a teakettle. Take the garment (table cloth, linen napkin, etc.) and pull it as taut as possible over a sink.
Then while the water is still very hot, hold the teakettle as high above the fabric as you can comfortably do and pour the water in a steady stream directly onto the berry stain. They swear this will wash the berry stain (almost) completely out of the fabric.
Sunlight
If the berry stains are on your clothing (fabric), you may be able to lighten the stain by attacking it immediately with cold water, dousing and scrubbing the stained material and then allowing it to dry in the bright sun. The sunlight will draw the stain out.
Commercial Products to Remove Berry Stains
Tide, made by Proctor & Gamble, is keeping up with today’s preference for more earth-friendly cleaning products. They have specific recommendations to deal with berry stains using their products.
Tide Powder with Bleach contains enzymes and is recommended for removing berry stains from washable fabrics. Fill a plastic container with warm water and add a scoop of the soap powder. Let it soak overnight or for a few hours, then launder as usual being sure to add the recommended amount of detergent for the size of the load.
Oxygen Bleach (Oxy-Clean)
Another great product is Oxi-Clean, formerly sold only on TV, now available almost everywhere.
Some experts advise making a thin paste of OxiClean and water, then dabbing on the stain and allowing it to set up for 5-10 minutes. Run through a wash cycle to wash out all of the stain remover.
OxiClean itself recommends using 2 scoops of powder to 1 gallon of water. Drop the garment or article of washable fabric in and soak for 1-6 hours. Then rinse well or run through a wash cycle.
Do not dry the article in a dryer without being sure the OxiClean is removed.
Be sure to observe the manufacturer’s detailed instructions and cautions when using this (and any commercial product).
Pure Carpet Care - Tip of The Day
More Articles …
- Cleaning Your Shower Curtain
- Removing Scuff Marks From Floors
- What! Is That Smell?
- How to Remove Tough Stains from Your Clothing
- Pure Carpet Care Certifications 2017
- What are some uses for baking soda?
- Ending Carpet Static
- How can I prevent the floors in my house from getting dirty?
- How do I get a grape juice stain out of my carpet?
- How do I get greasy stains from my carpet?
- How do I get gum from my carpet?
- How can I remove a hair dye stain from my carpet?
- How can I remove hardened hairspray from my carpet?
- How can I remove a Red or other gelatin stains from my carpet?
- How can I get a milk stain and odor out of my carpet?
- How can I remove a Miracle Grow stain from my carpet?
- How do I get nail polish off carpets?
- How do I remove an oil paint stain from my carpet?
- How do I remove the smell of dog urine from the pet bed?
- How do I remove the smell of cat urine from my home?


